How to apply for incapacity payments in MyService
You can apply for incapacity payments in MyService.
Incapacity payments compensate you for loss of income if a service-related injury or disease reduces your ability to work or prevents you from working.
Getting started
Before you get started, you:
- may need to provide us with details of your service, along with proof of service documentation the first time you submit a claim
- will need to provide current medical certificates and we may ask you to have a medical examination to support your application
- will also need to provide details of your employment, income, pensions and Commonwealth Superannuation Corporation (CSC) payments.
This guide includes images of sample screens. The screens do not contain information about any real DVA clients.
Back to topStep 1 – Select Apply now and Incapacity payments
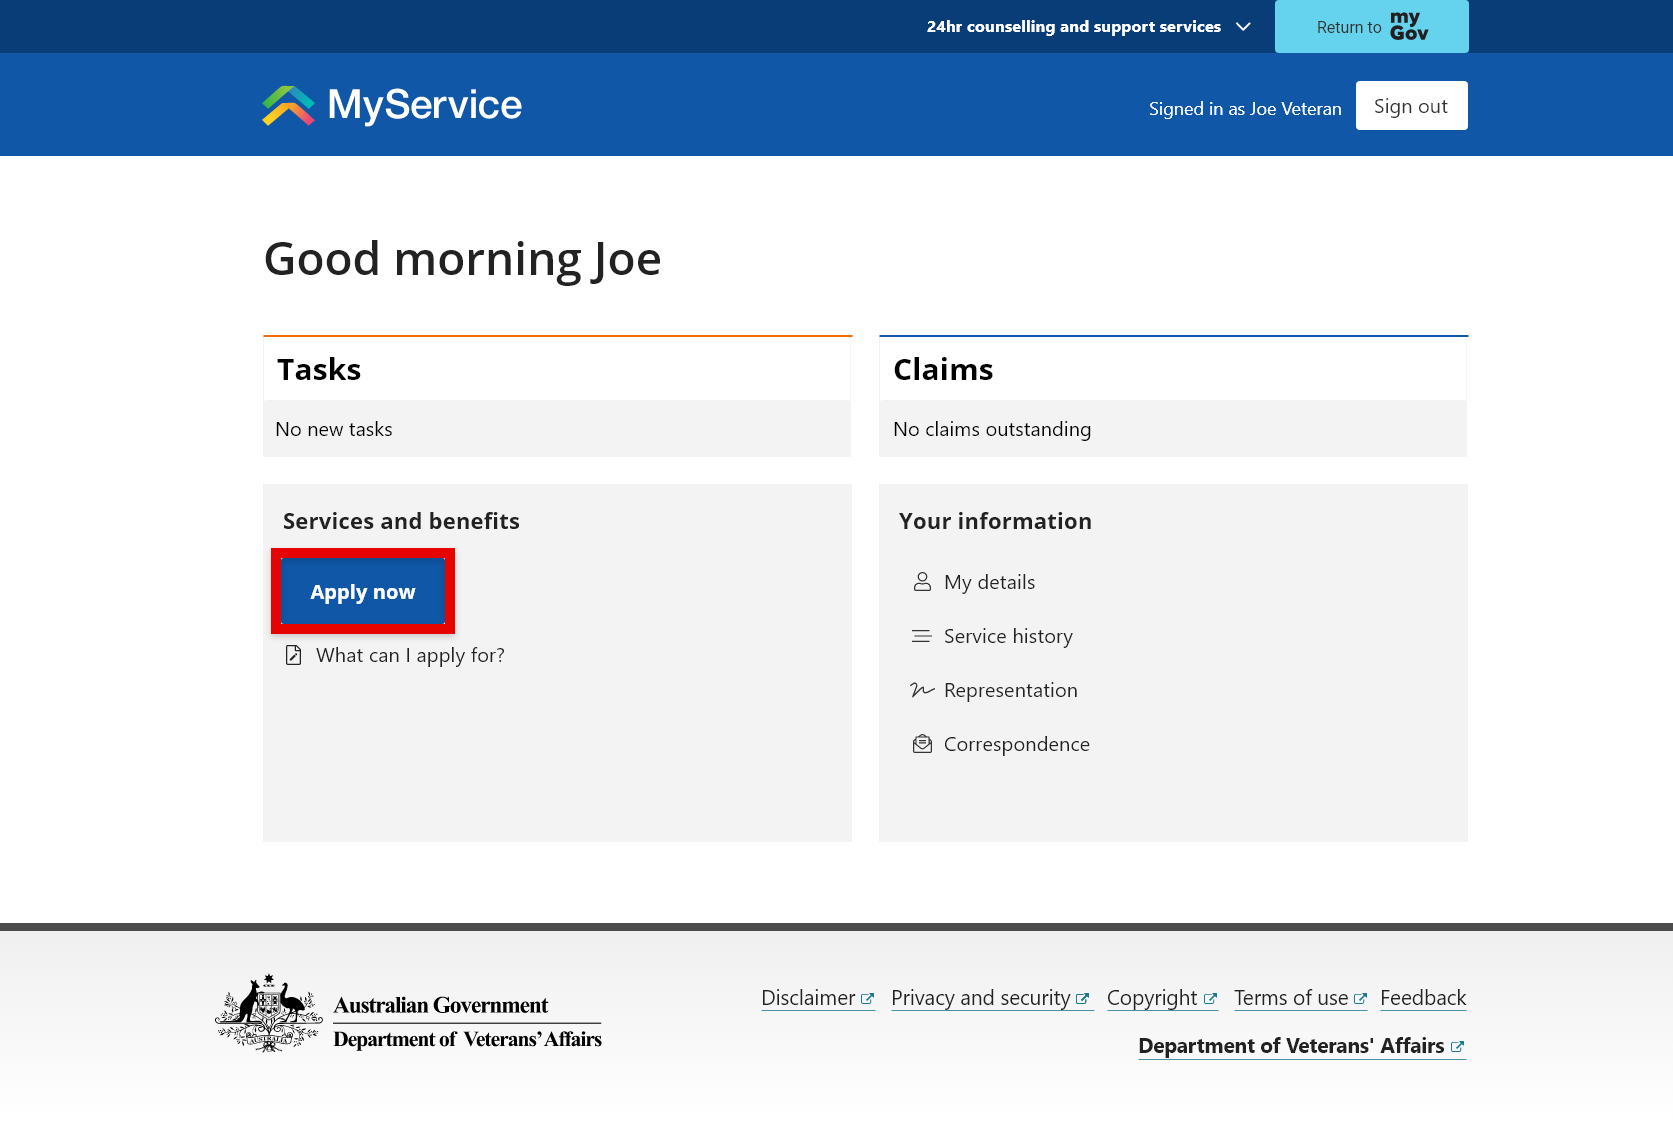
Sign in to MyService.
From the home page find Services and benefits and select Apply now.
Claims and applications screen, select the Incapacity payments tile.
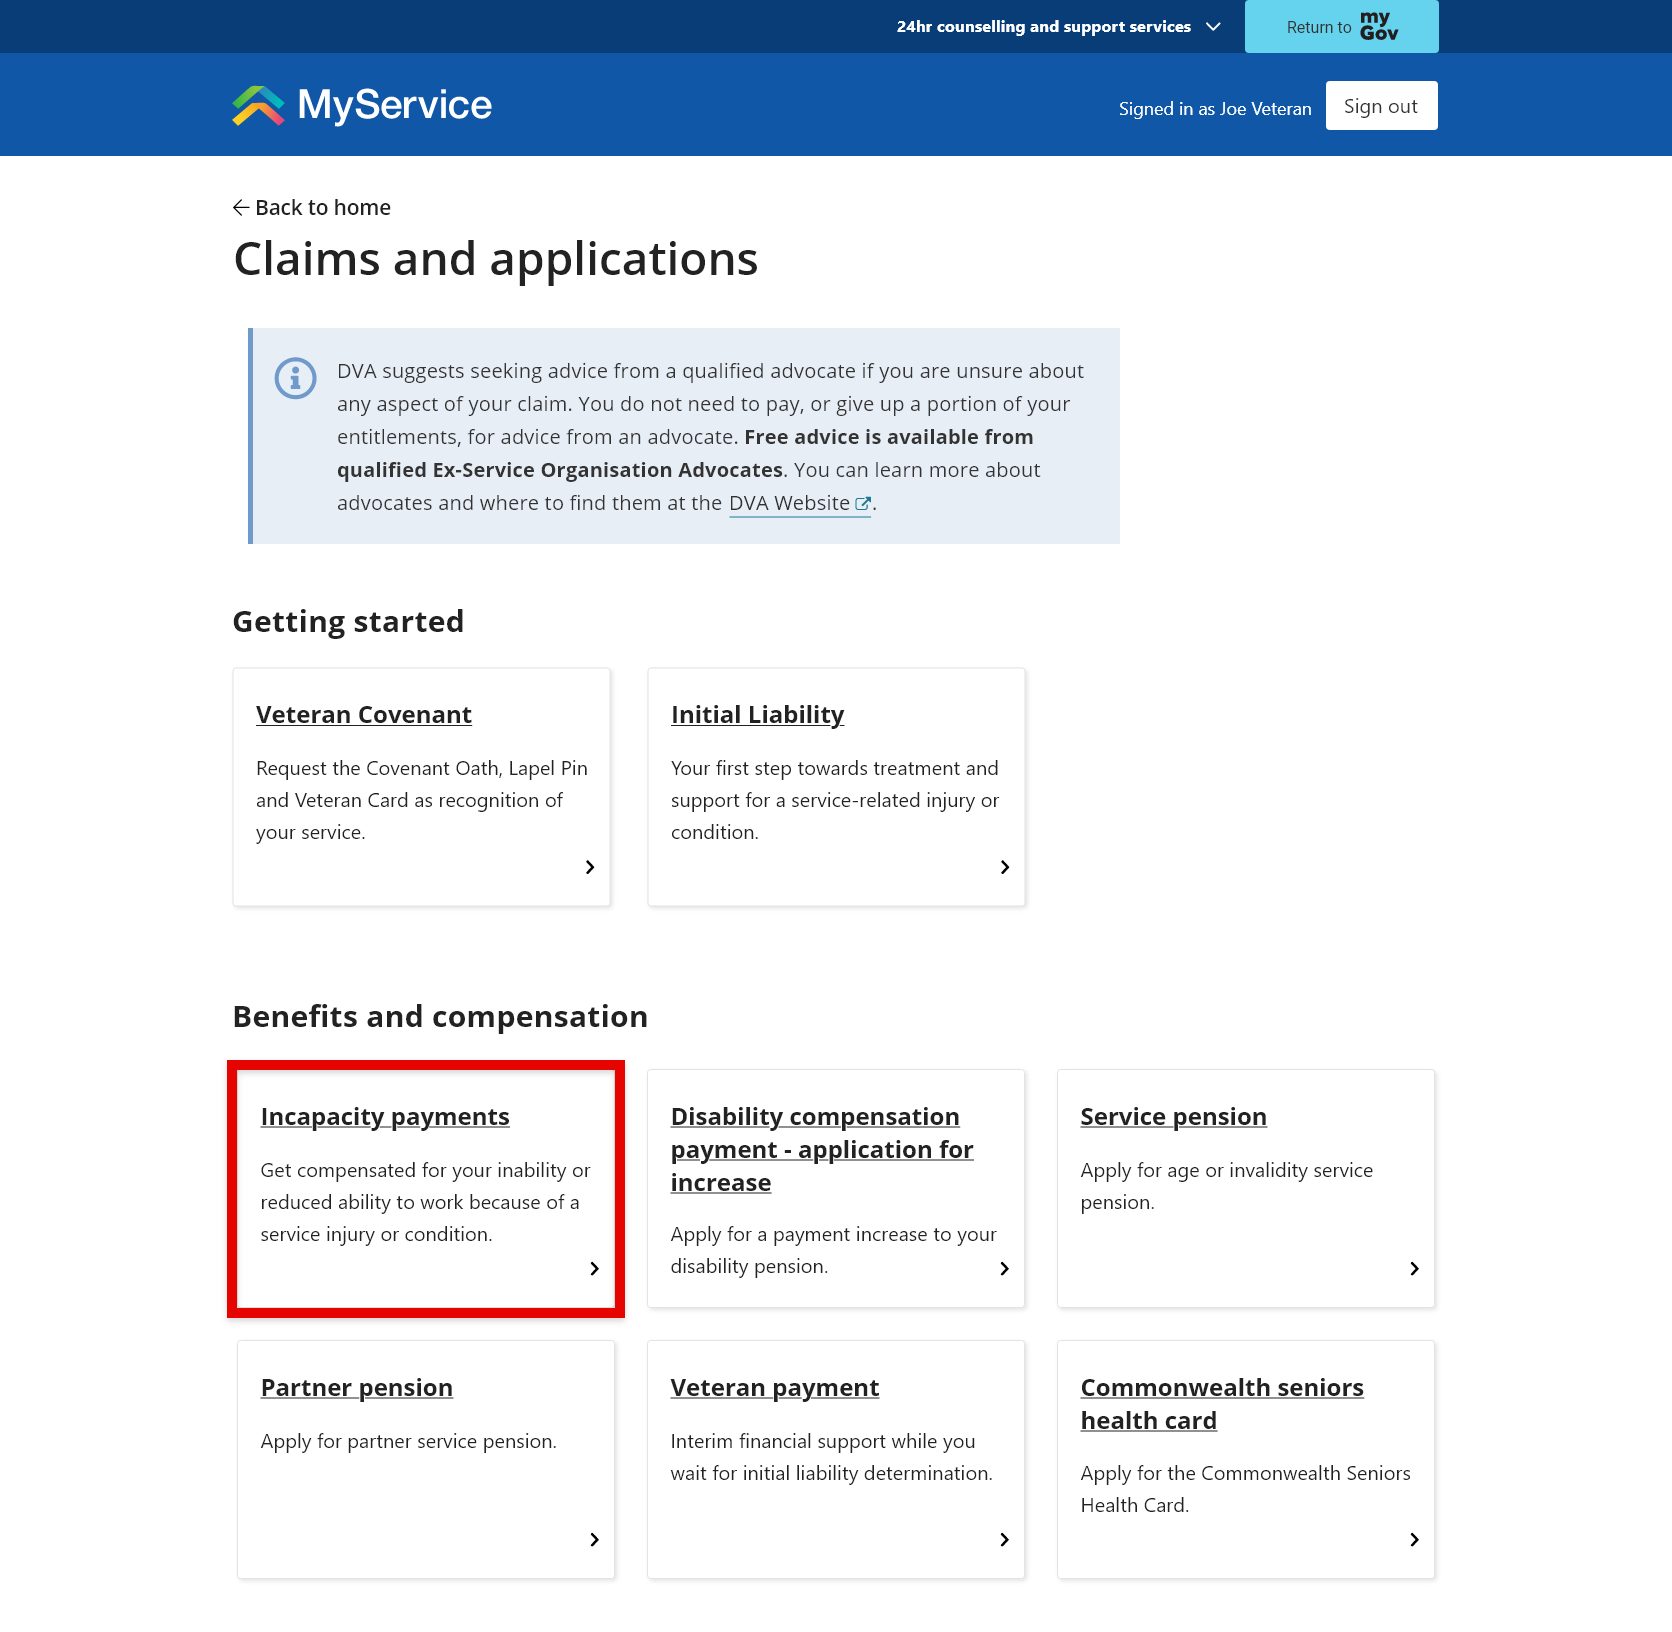
Note: You can only have one active claim for incapacity payments at a time, which means this tile will no longer appear here once you’ve either started and saved an incomplete claim or submitted a claim.
Back to topStep 2 – Provide claim details
Prepare for this claim
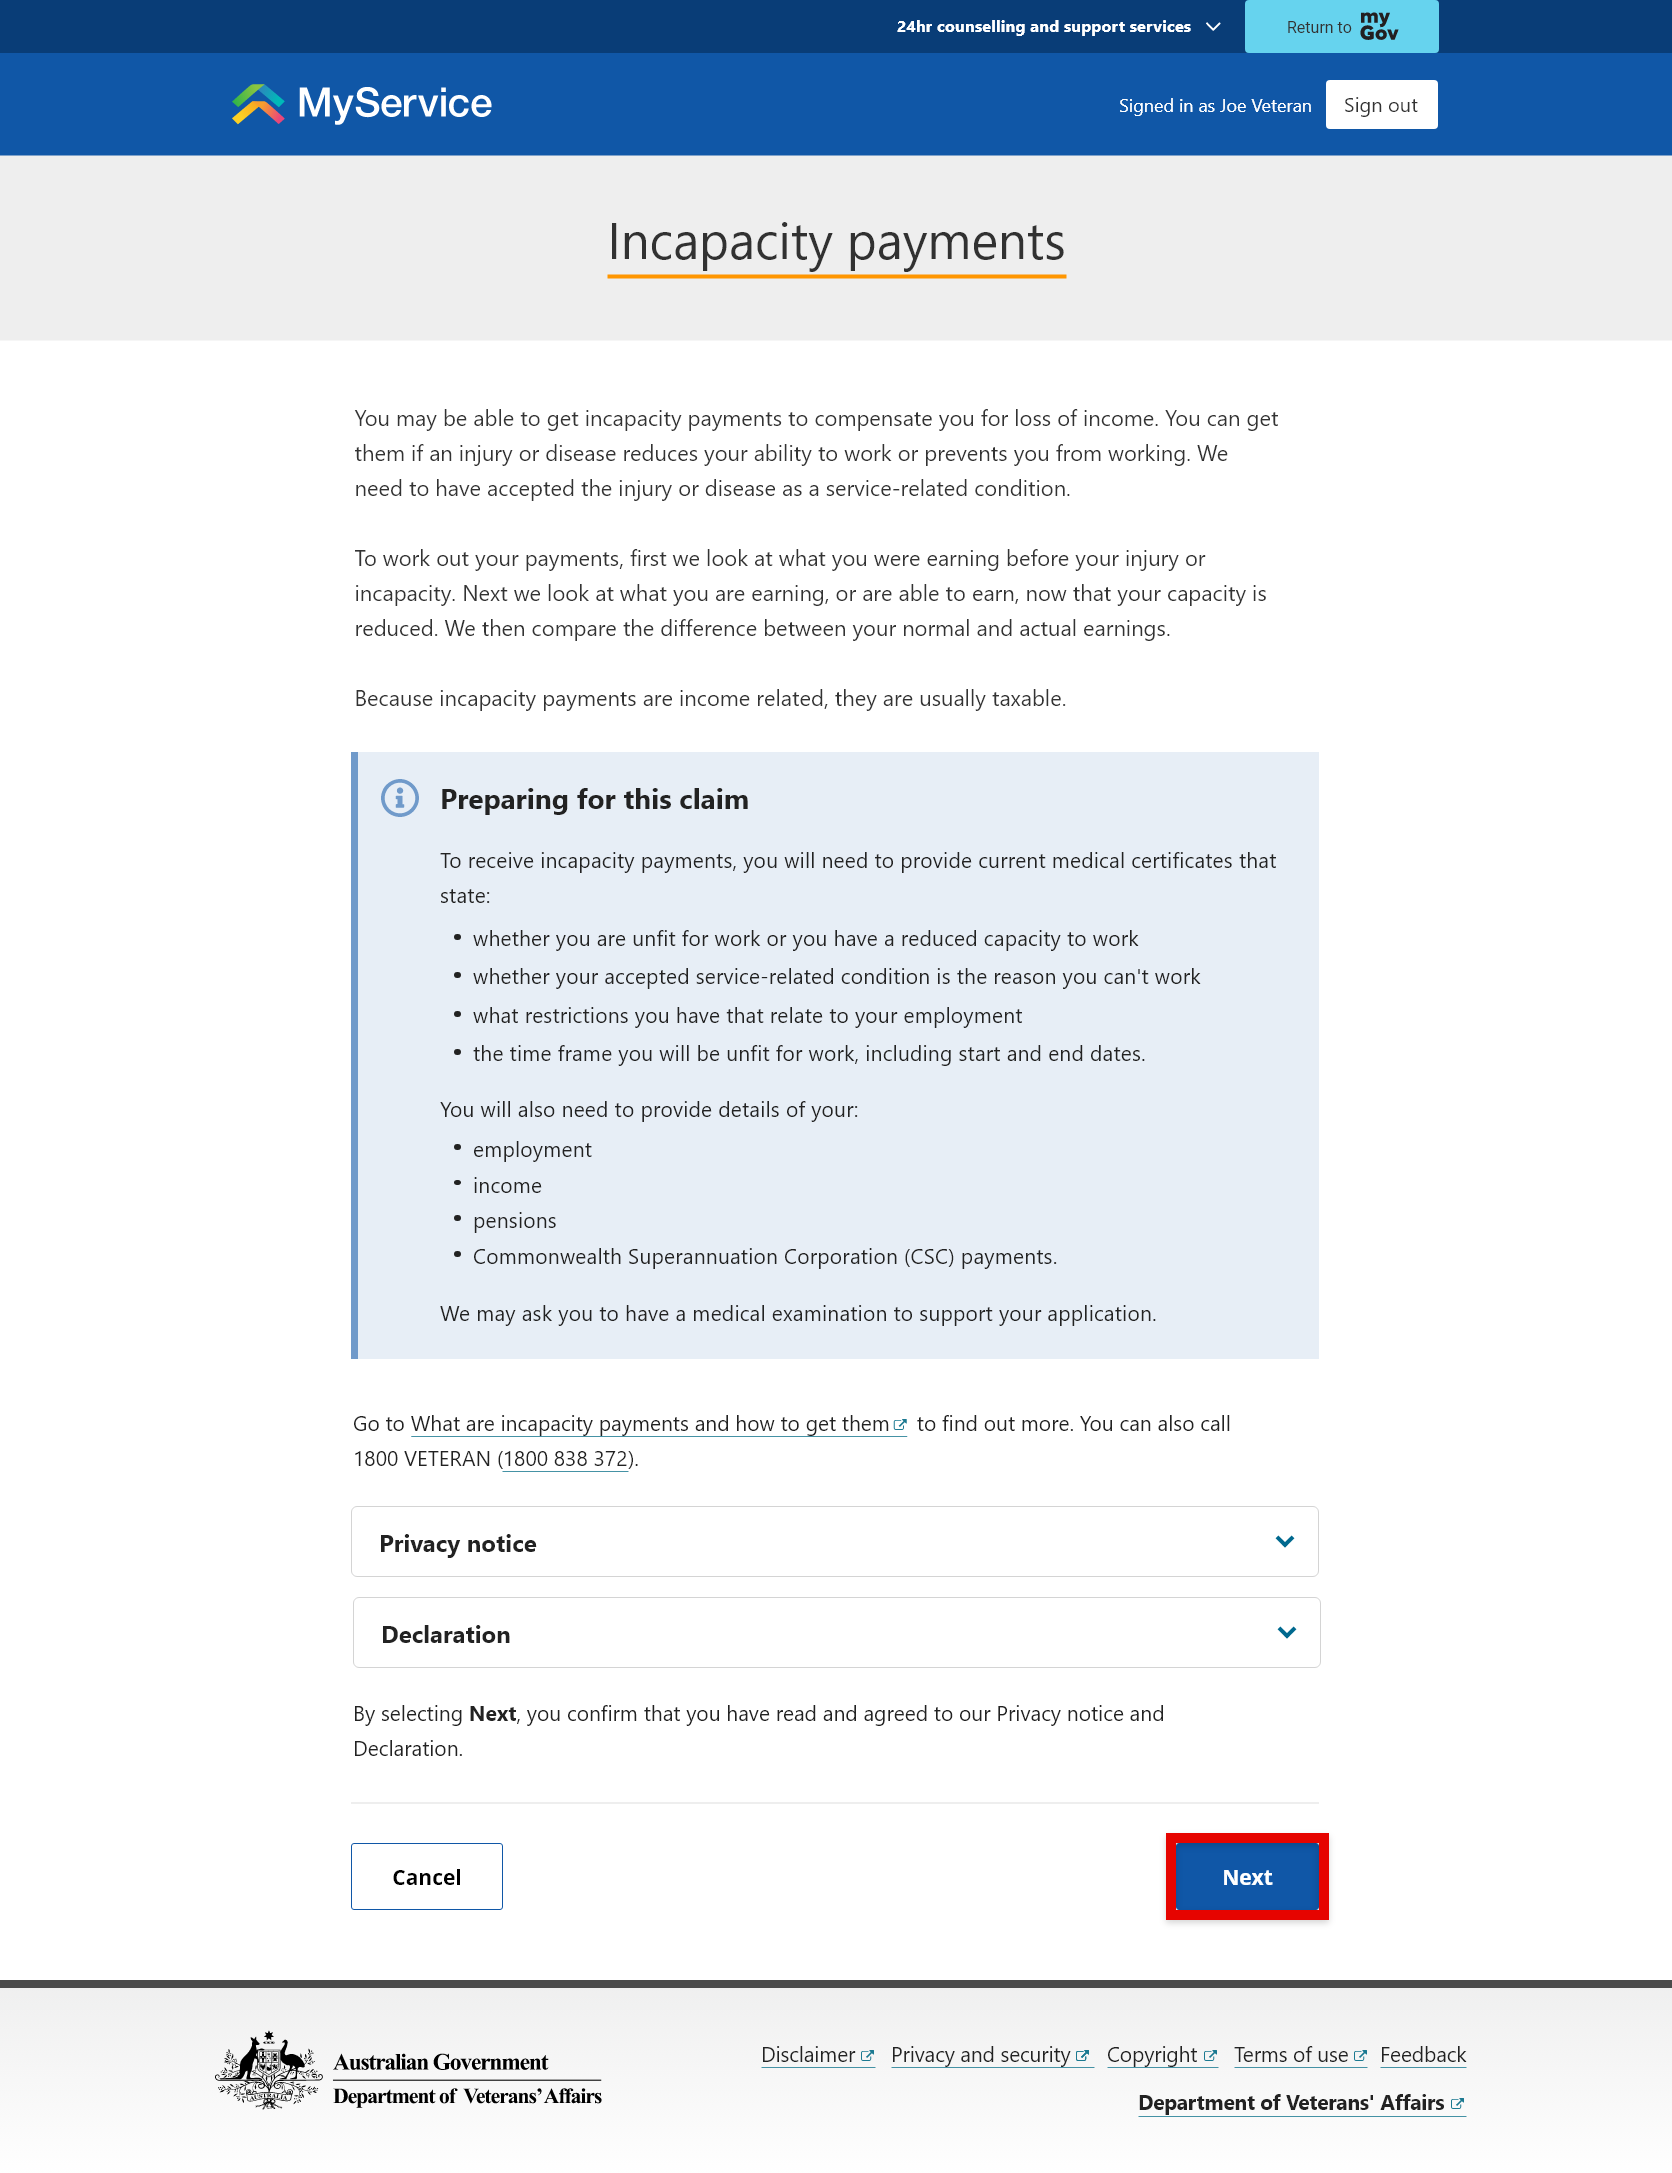
The Incapacity payments start screen will first outline what incapacity payments are and what you need to do to apply for them.
You will also find our Privacy notice and Declaration.
To agree to the terms in our Privacy notice and Declaration and begin your claim, select Next.
If you have to provide your service details, you will be prompted to do this. Enter your service details, and select Save and next.
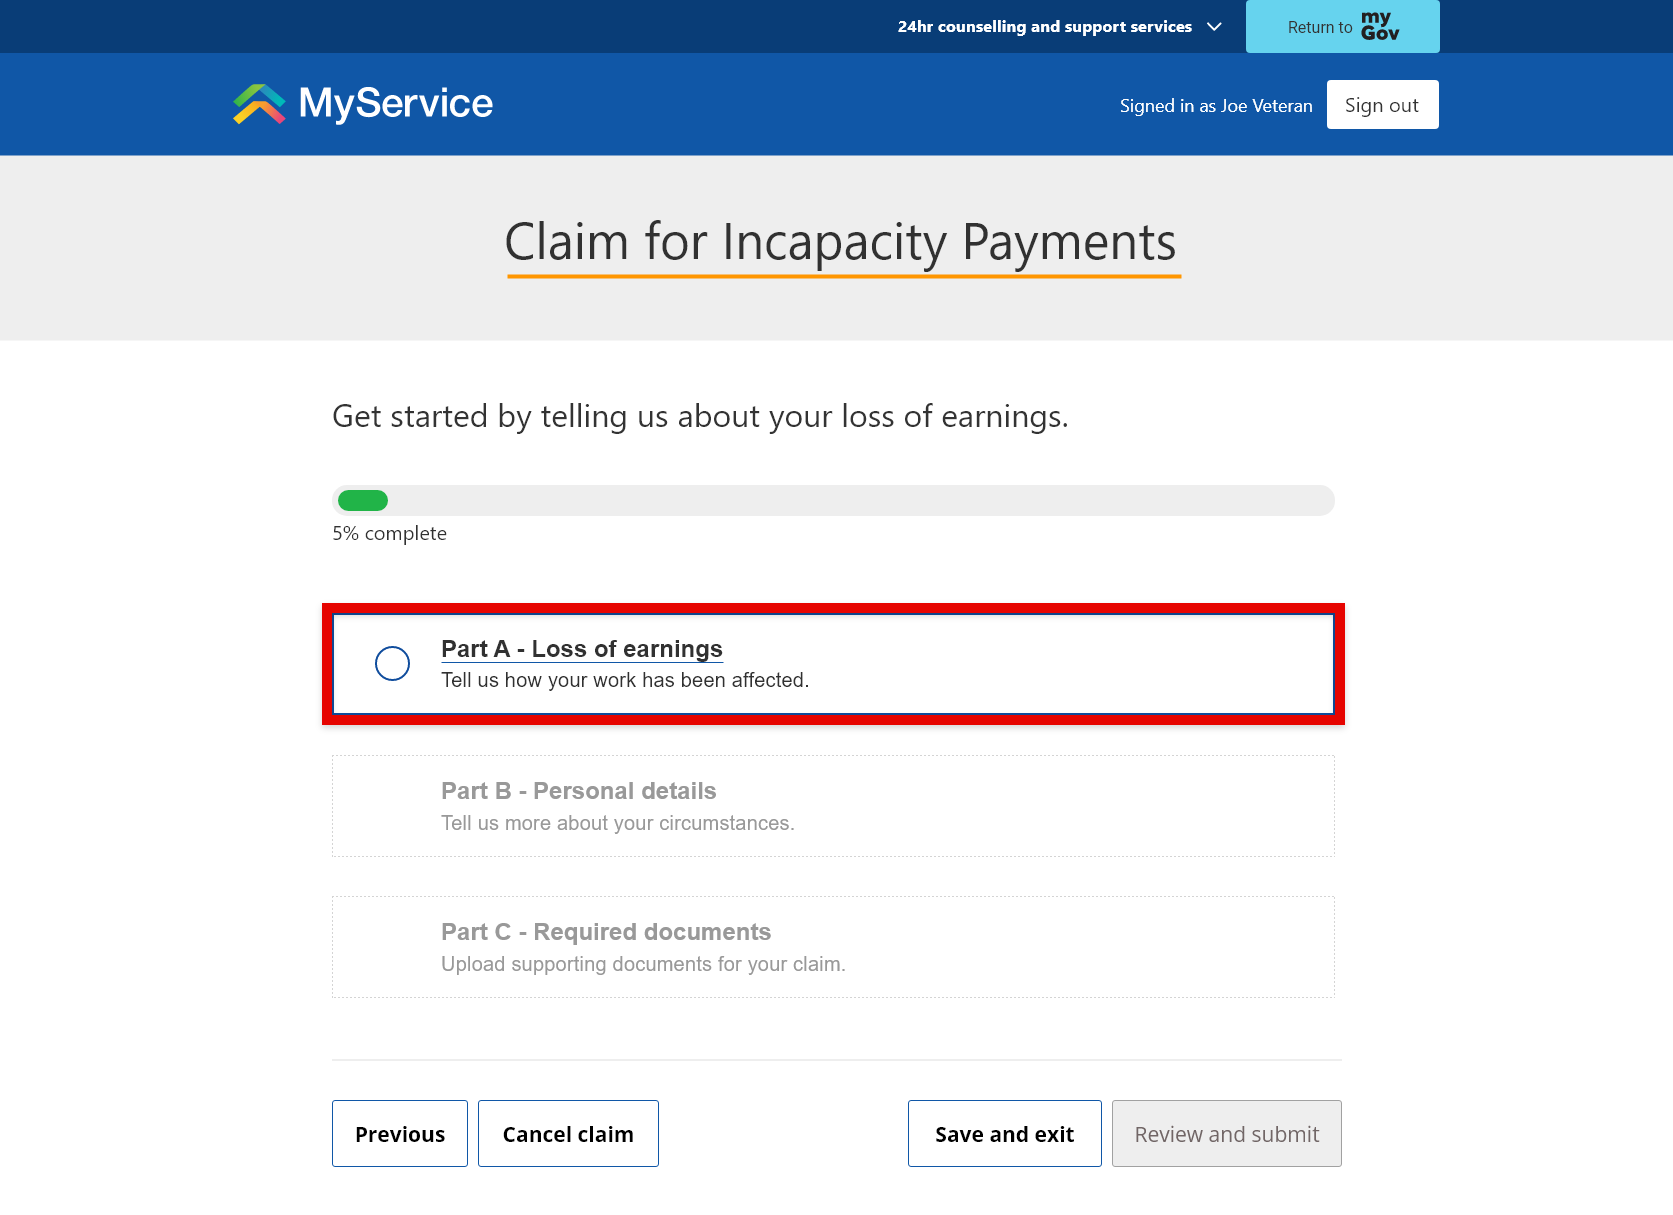
To apply, you will need to complete Parts A, B and C of the claim.
You can save an incomplete claim at any stage by selecting Save and exit. You can access incomplete claims in your Claims list.
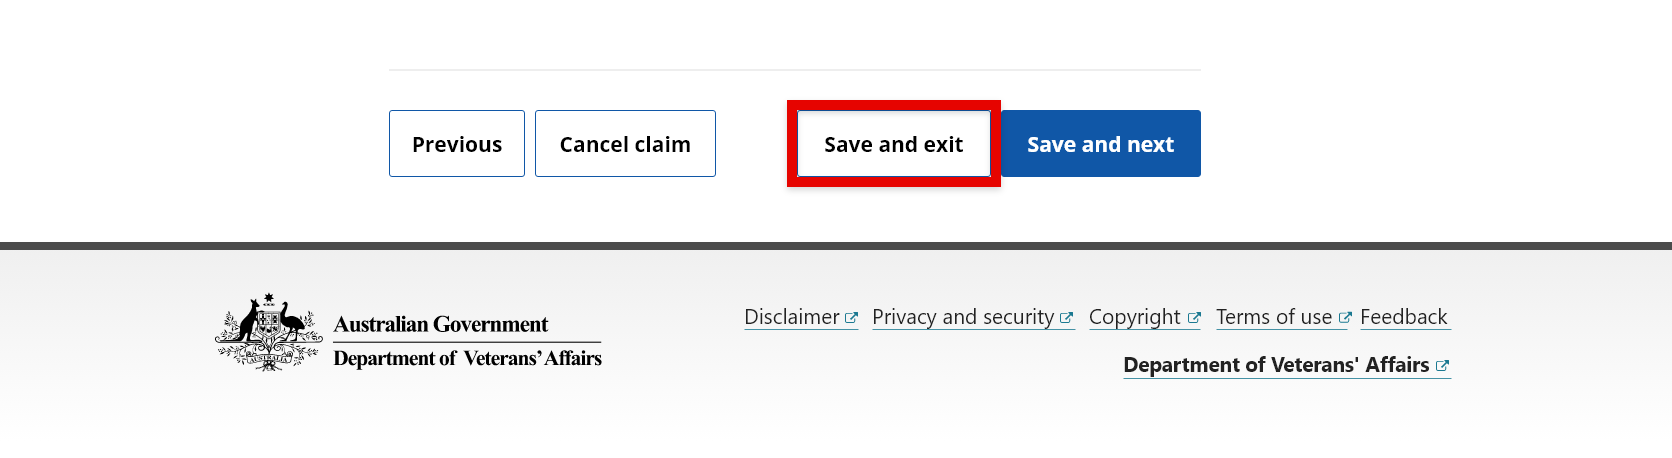
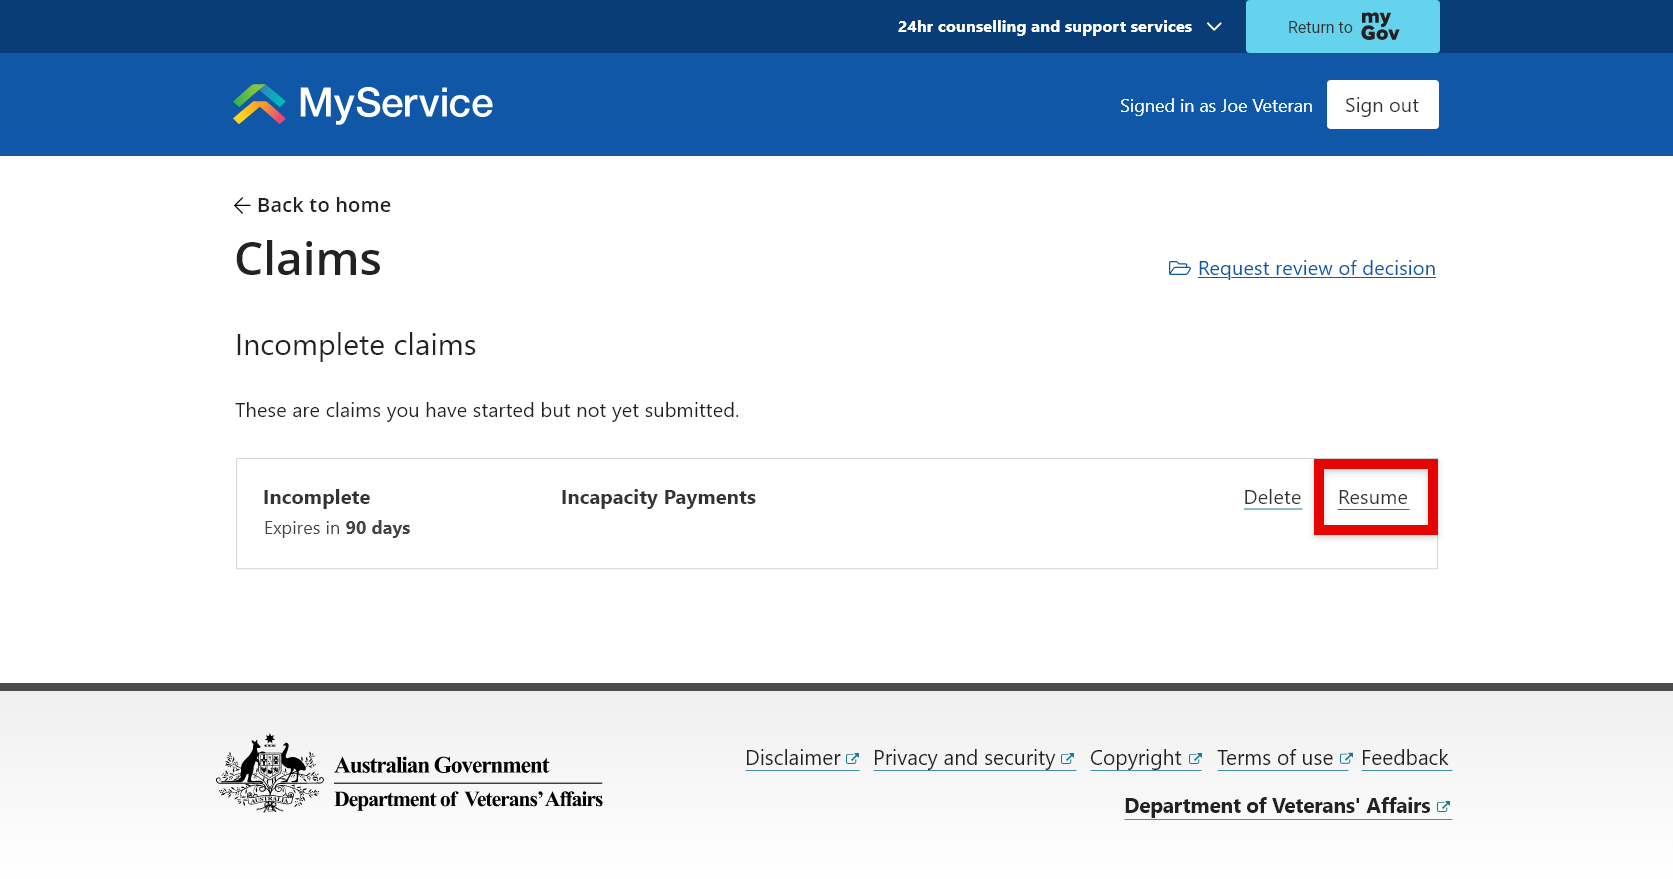
The Resume button allows you to pick up where you left off with the incomplete claim. If you do not submit the claim within 90 days, it will be automatically removed from MyService and you will have to start again.
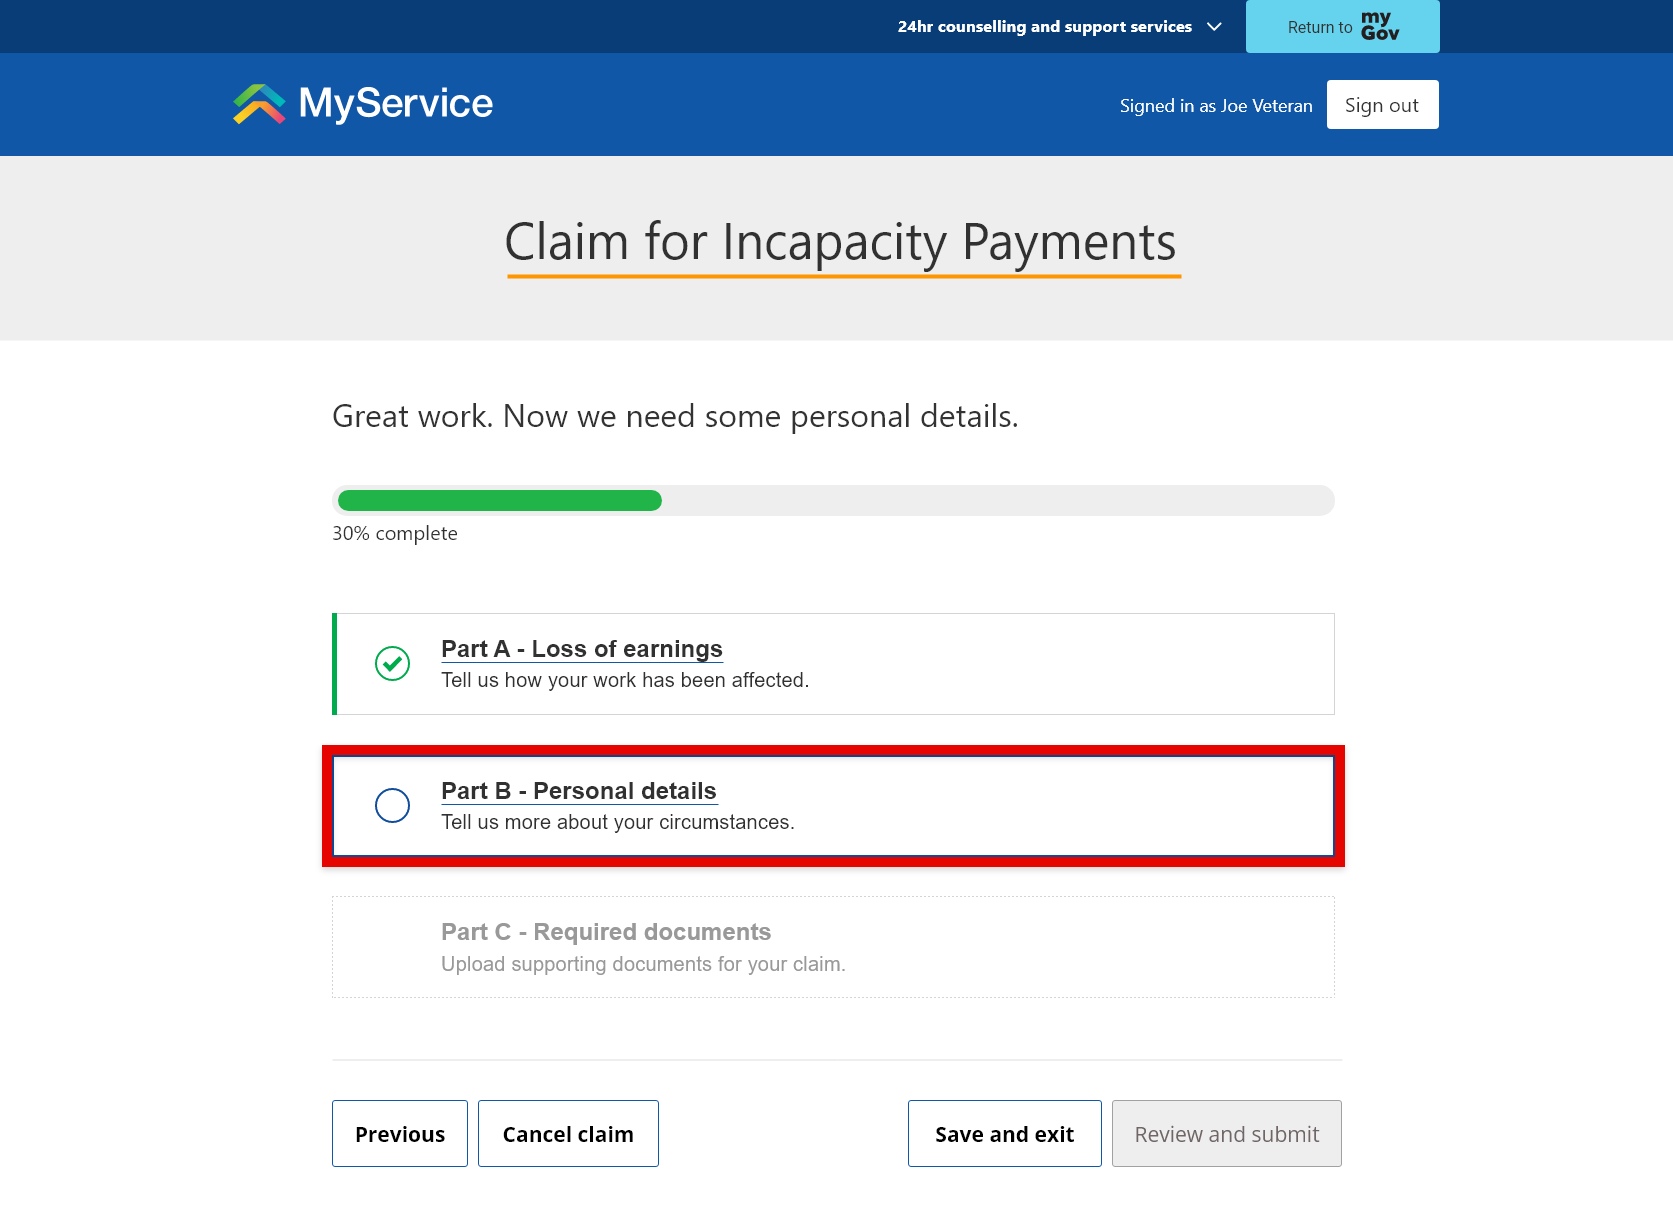
Part A – Provide loss of earnings details
To begin, select Part A – Loss of earnings.
From here, you can tell us about the:
- lost earnings you’re claiming for
- conditions that have caused this loss of earnings.
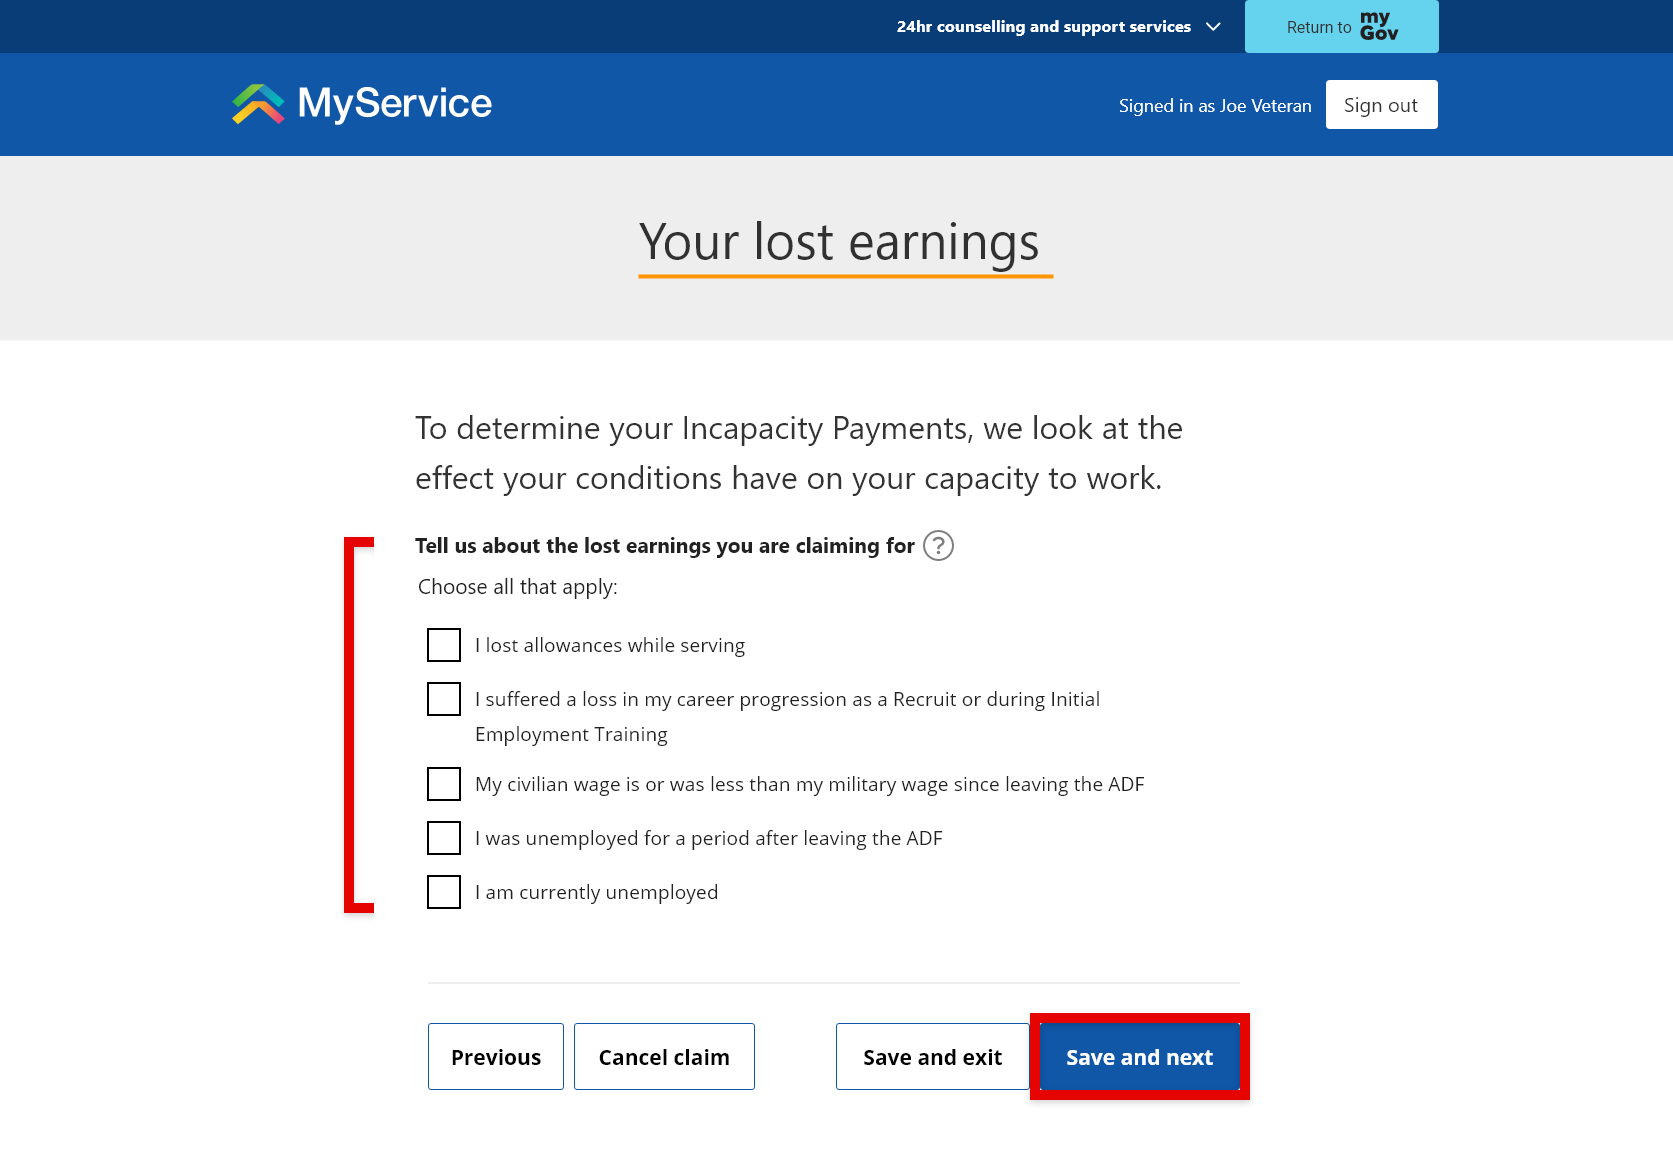
After you’ve provided your answers, select Save and next.
Part B – Provide personal details
Part A will be displayed as completed.
To continue, select Part B – Personal details.
You will then be prompted with questions that may ask you about your:
- service history
- civilian employment
- medical provider
- claim representative
- other benefits
- interim incapacity payment
- bank details.
Once you’ve provided your answers, select Save and next.
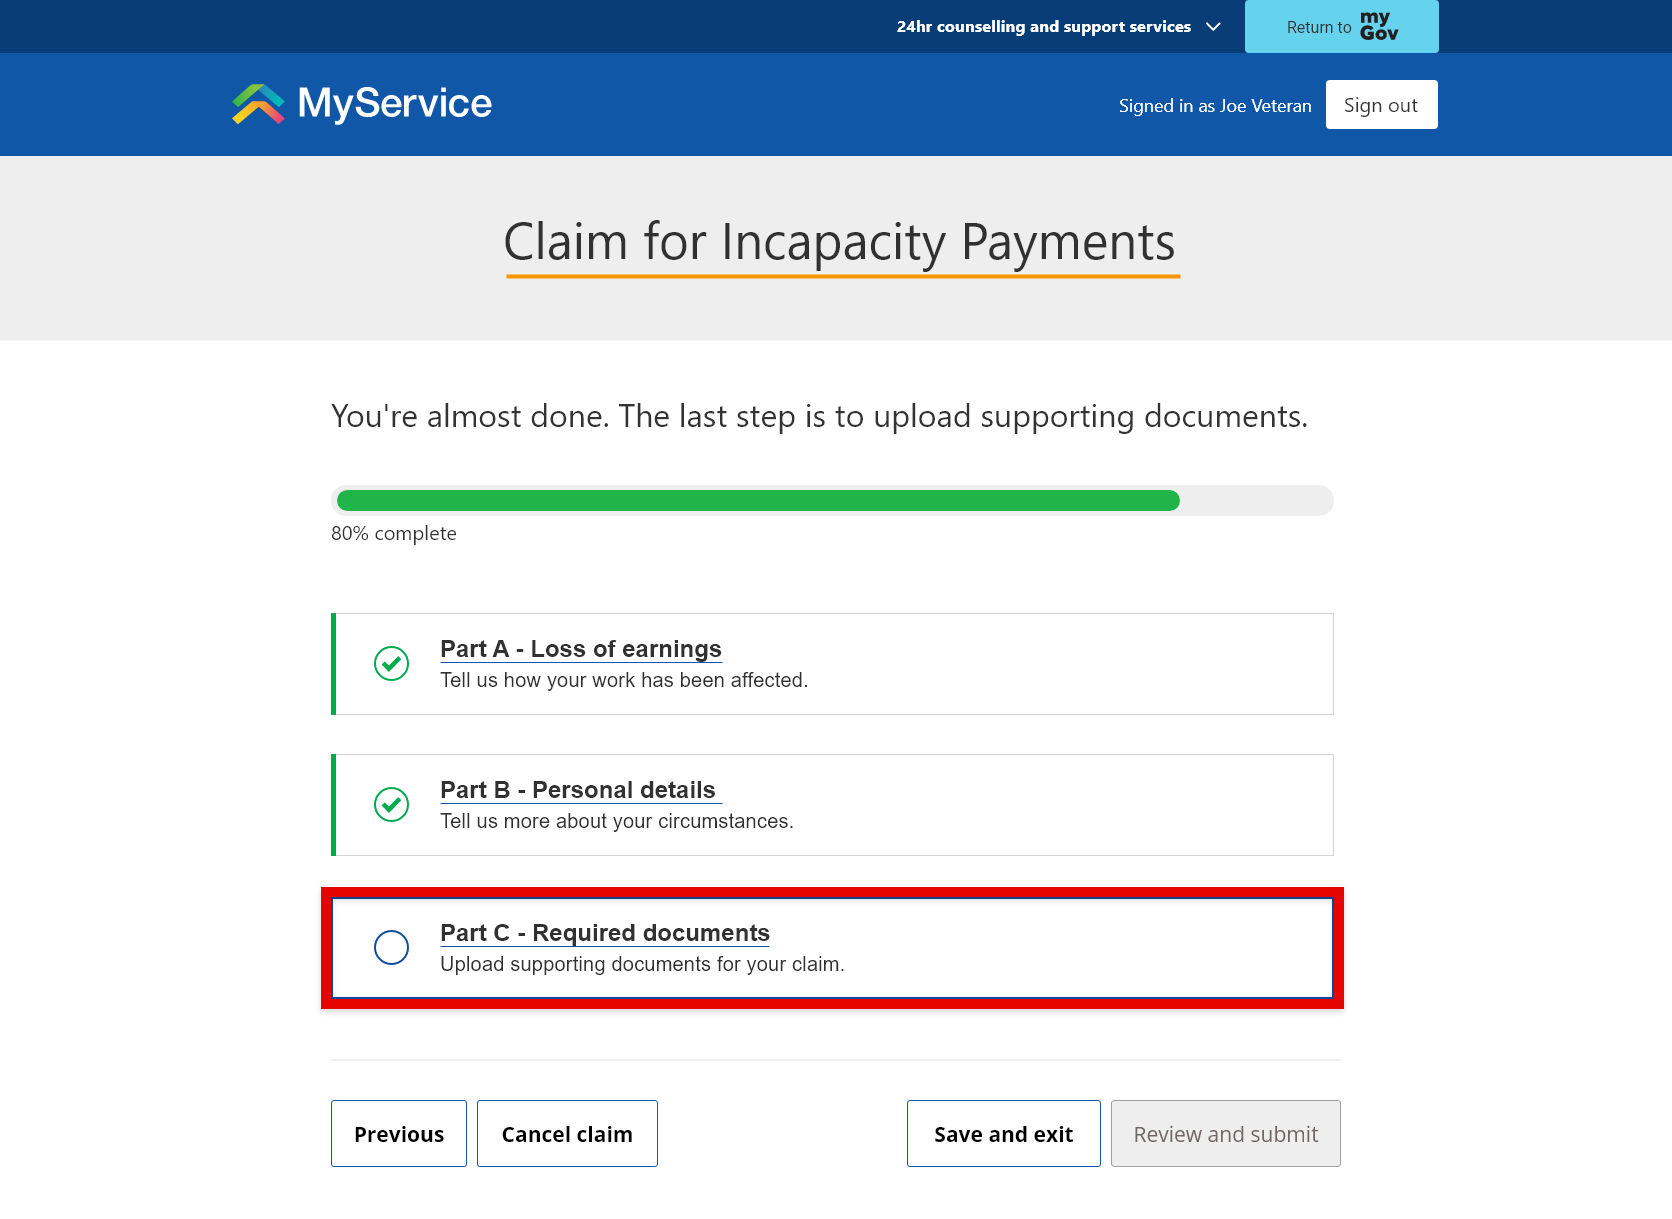
Part C – Provide required documents
Parts A and B will be displayed as completed.
To upload documents to support your claim select Part C – Required documents.
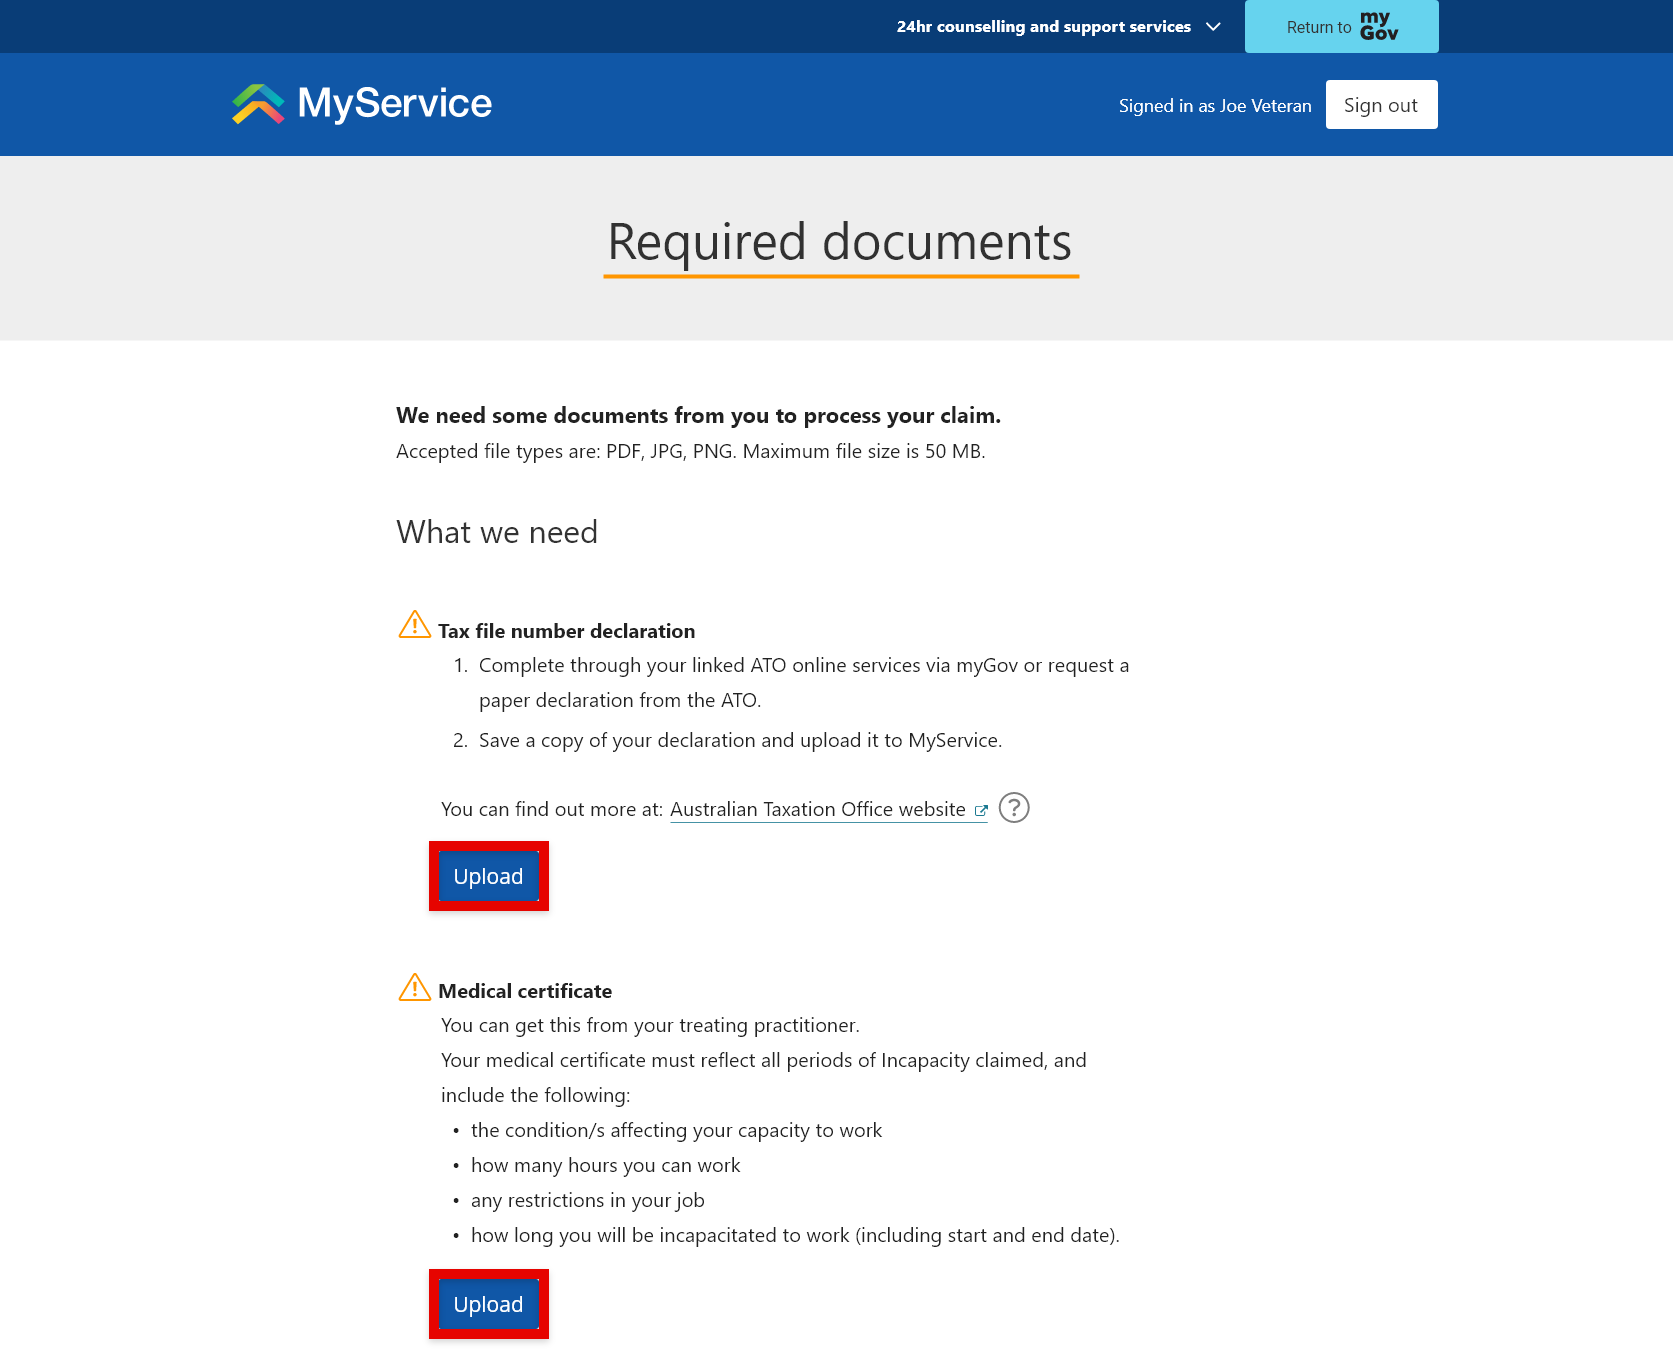
The documents you may need to provide include:
- a tax file number declaration form
- medical certificates
- proof of discharge
- proof of civilian earnings
- proof of military earnings
- proof of military allowances
- proof of loss of military allowance.
Accepted file types are PDF, JPG and PNG. The maximum file size is 50 MB.
Note: You can submit your claim without uploading any documents, but we will need them before we can determine your claim. Go to Step 4 to find out how to upload documents after you’ve submitted your claim.
Select Upload to upload your documents.
If you have more than one document, to upload select Add another.
To delete a document if you need to, you can select Remove.

To continue, select Save and next.
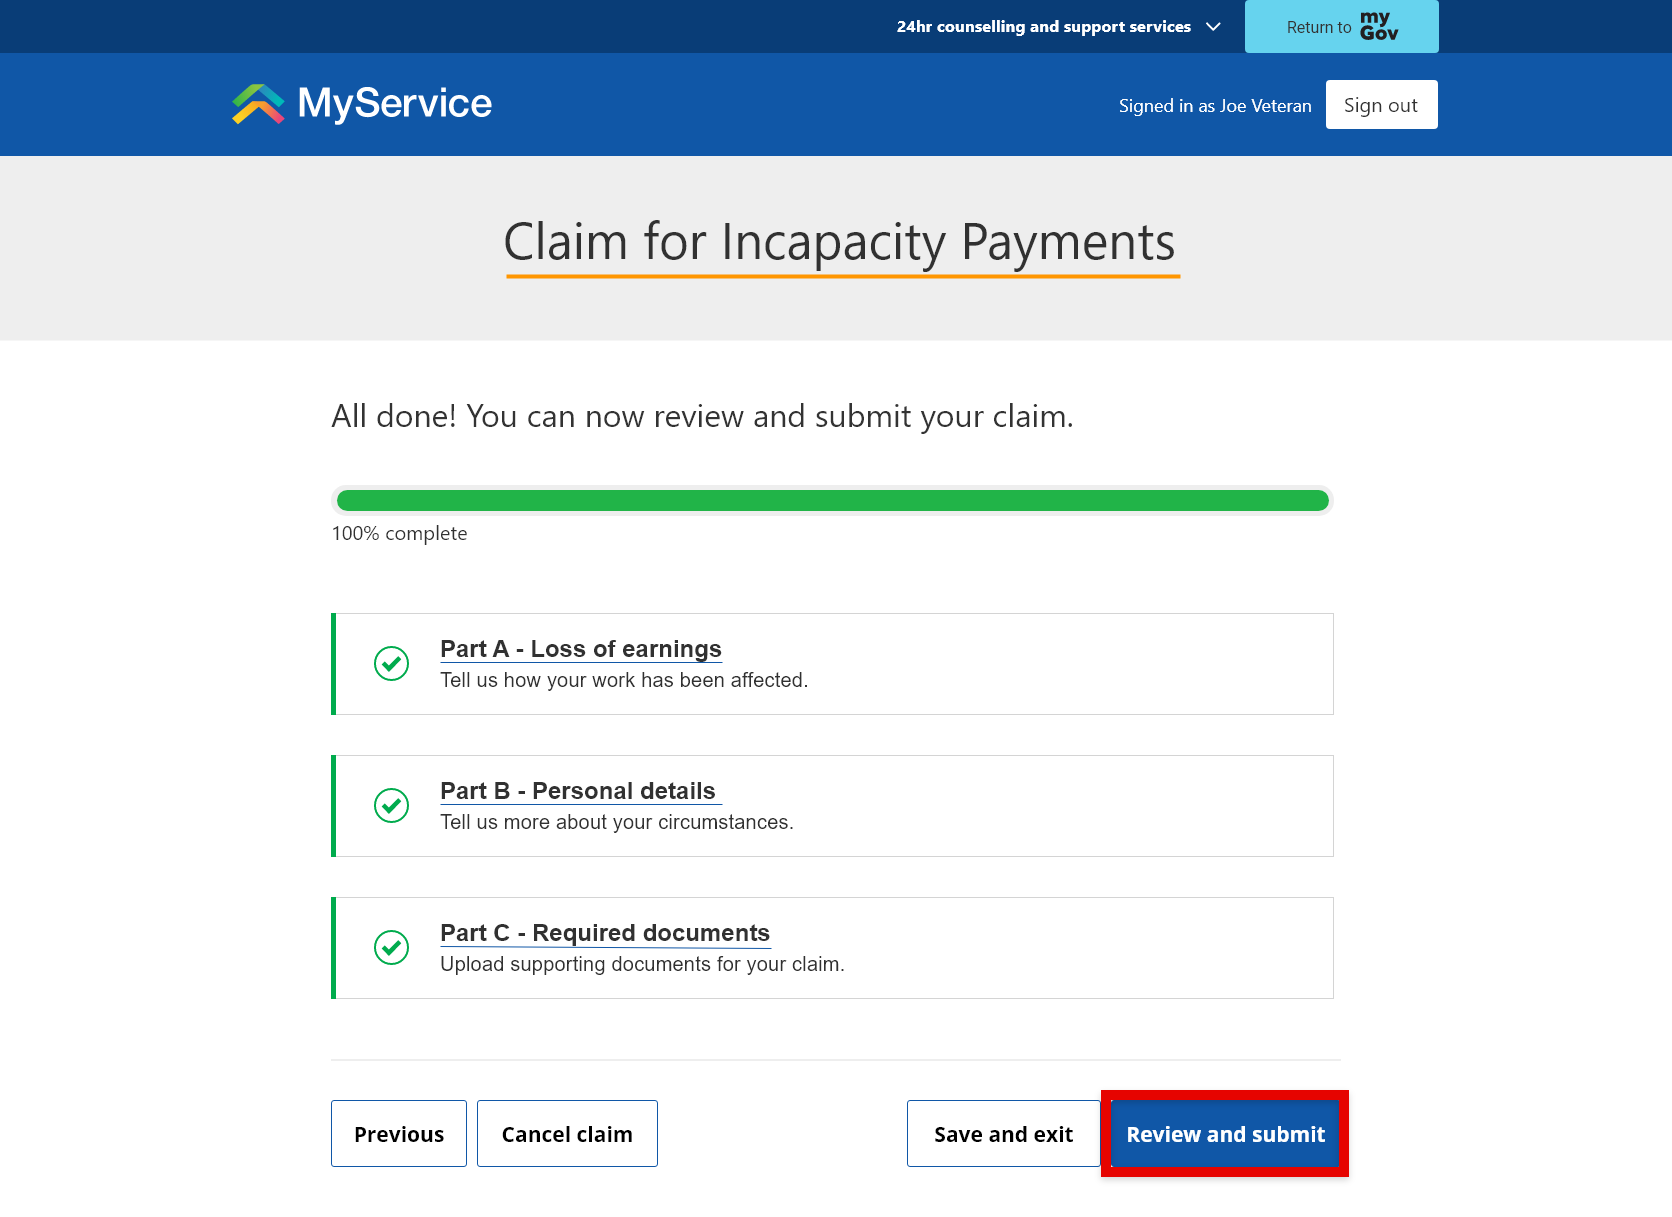
Back to topStep 3 – Review and submit
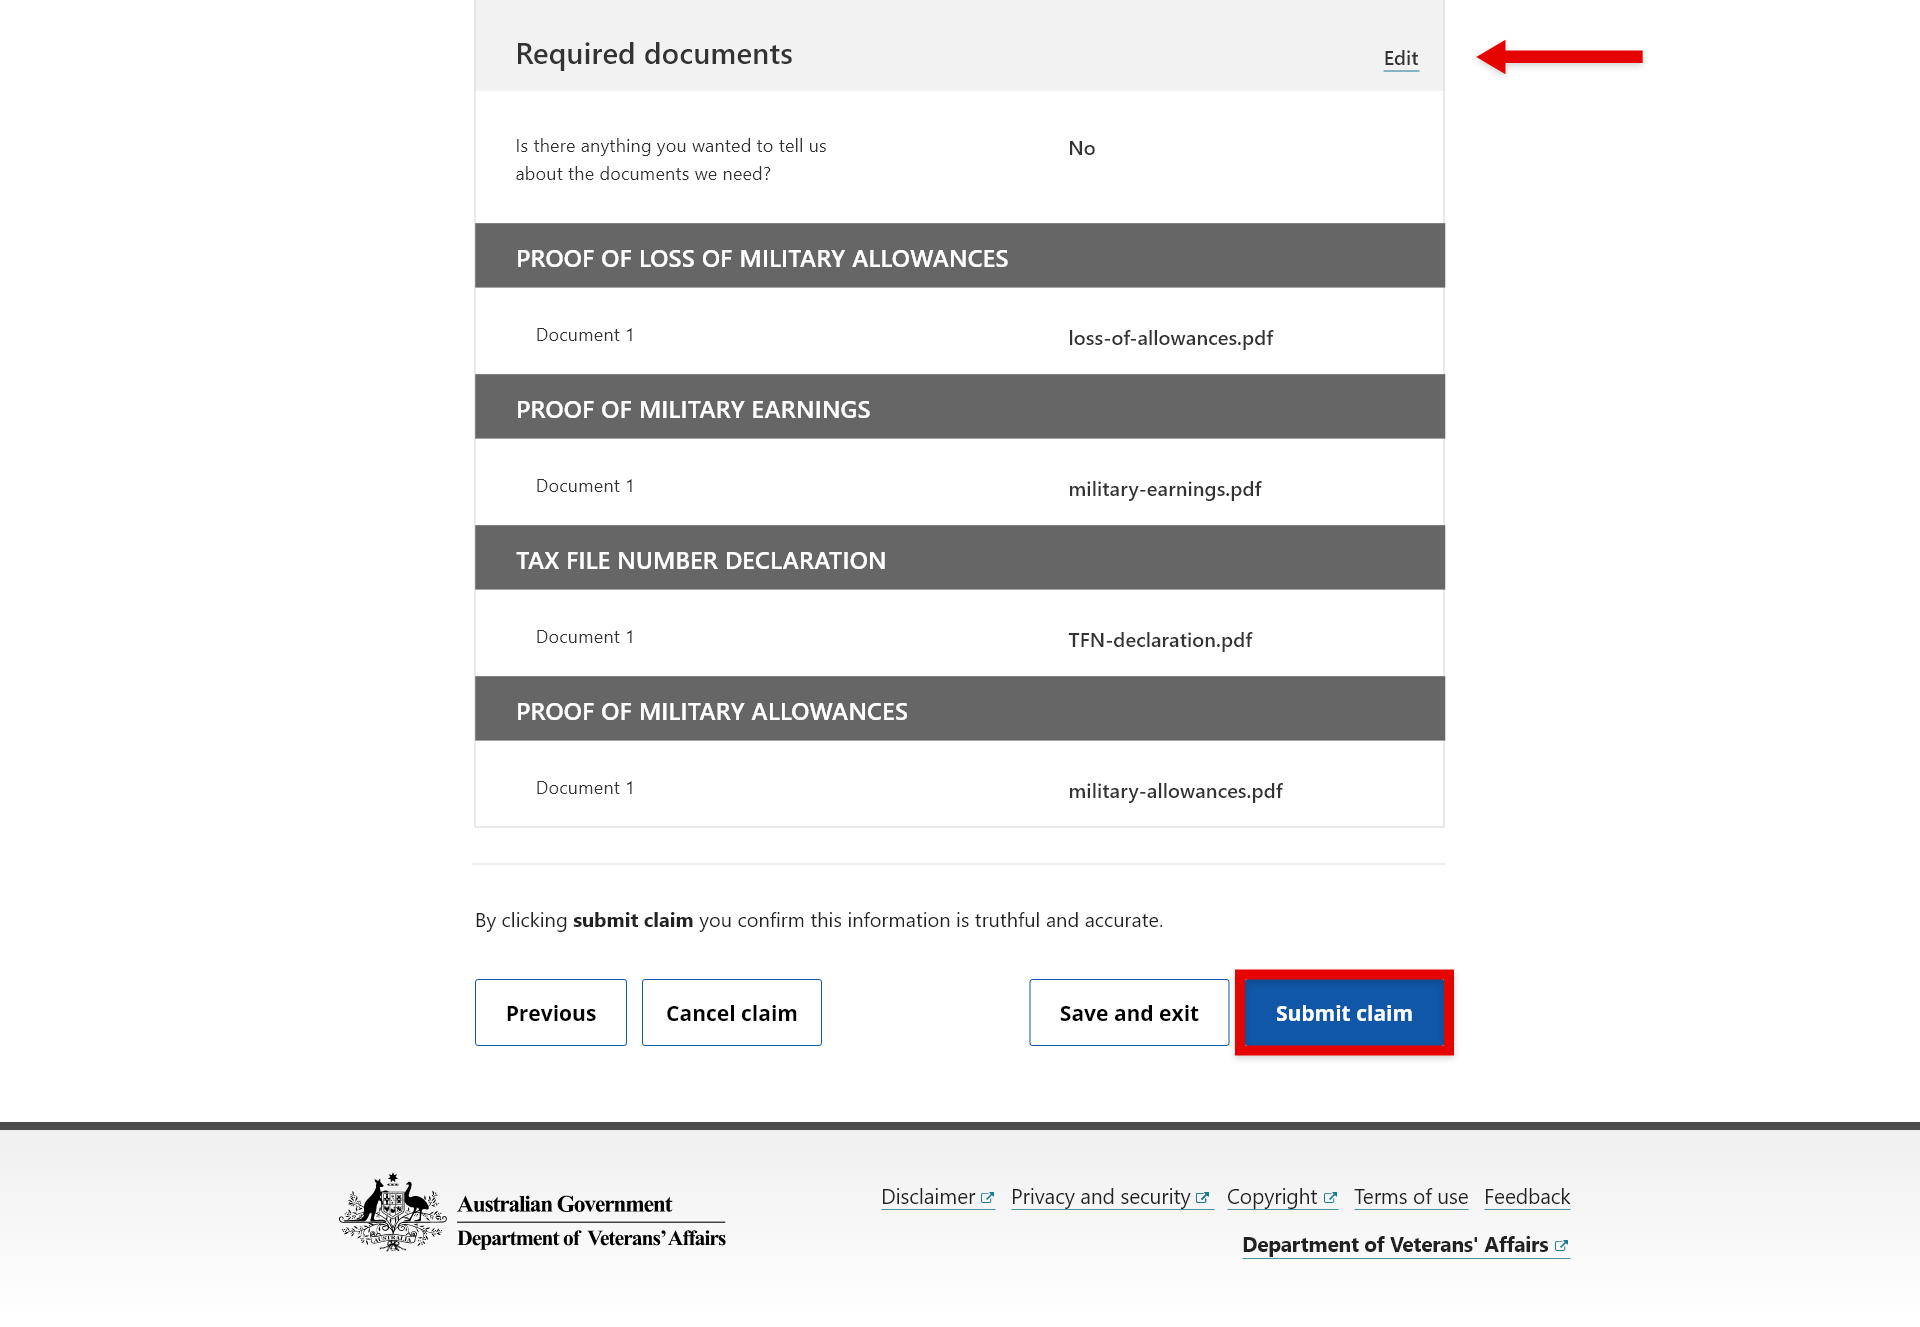
Once you have completed all 3 parts of your claim, select Review and submit.
Before you submit, review the details you have provided to confirm they are true and accurate.
To make any changes, select Edit.
Take note of any documents you may still need to upload.
When you’re ready, select Submit Claim.
Your claim has now been submitted.
We recommend you check that your contact details are up to date. To do this, select Update profile.
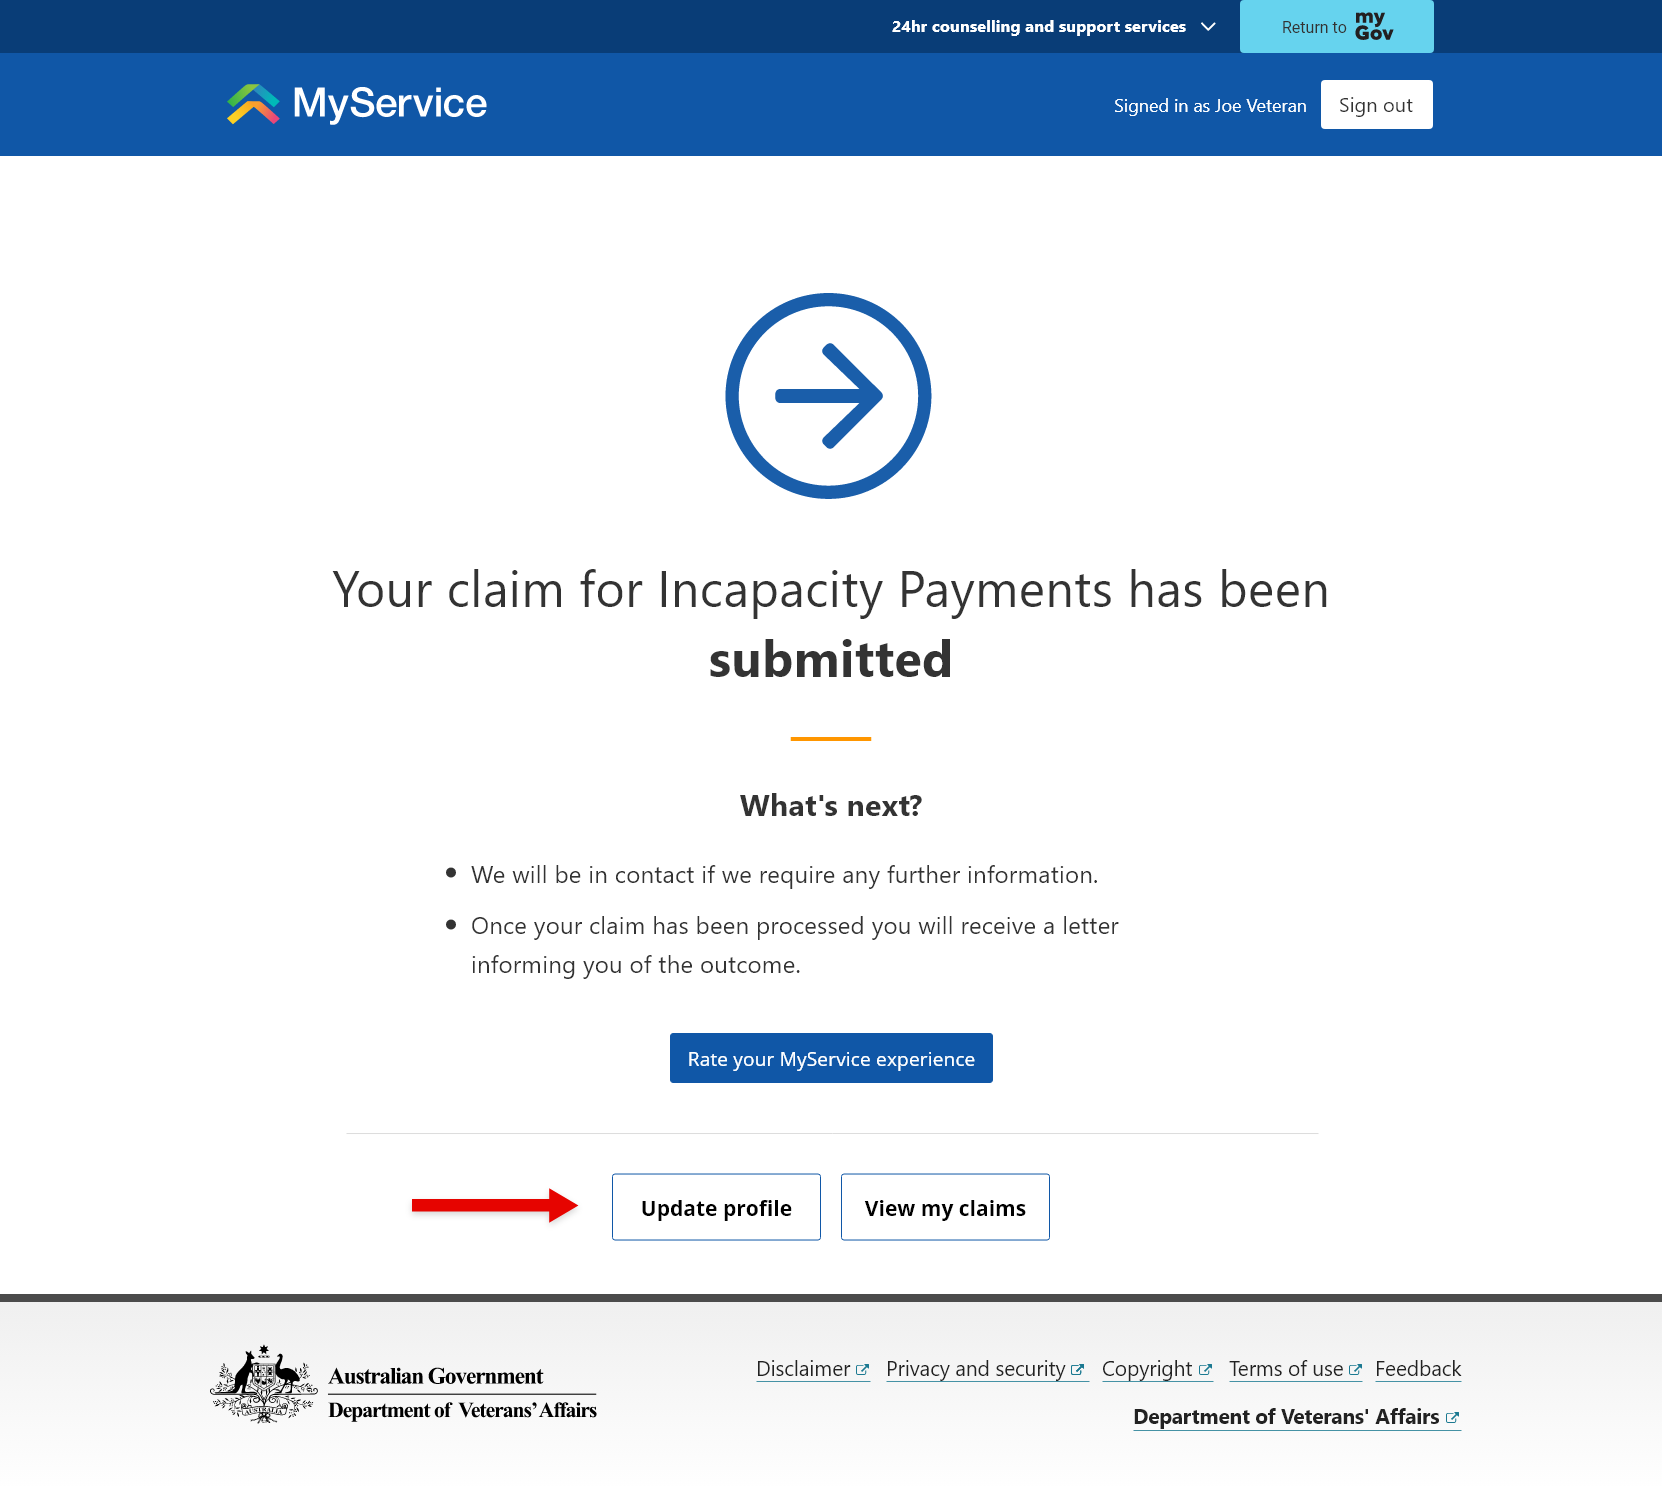
If you need to upload documents later, refer to Step 4.
Back to topStep 4 – Add documents after you’ve submitted your claim (if needed)
Note: This step is only required if you submitted your claim before uploading all the required documents.
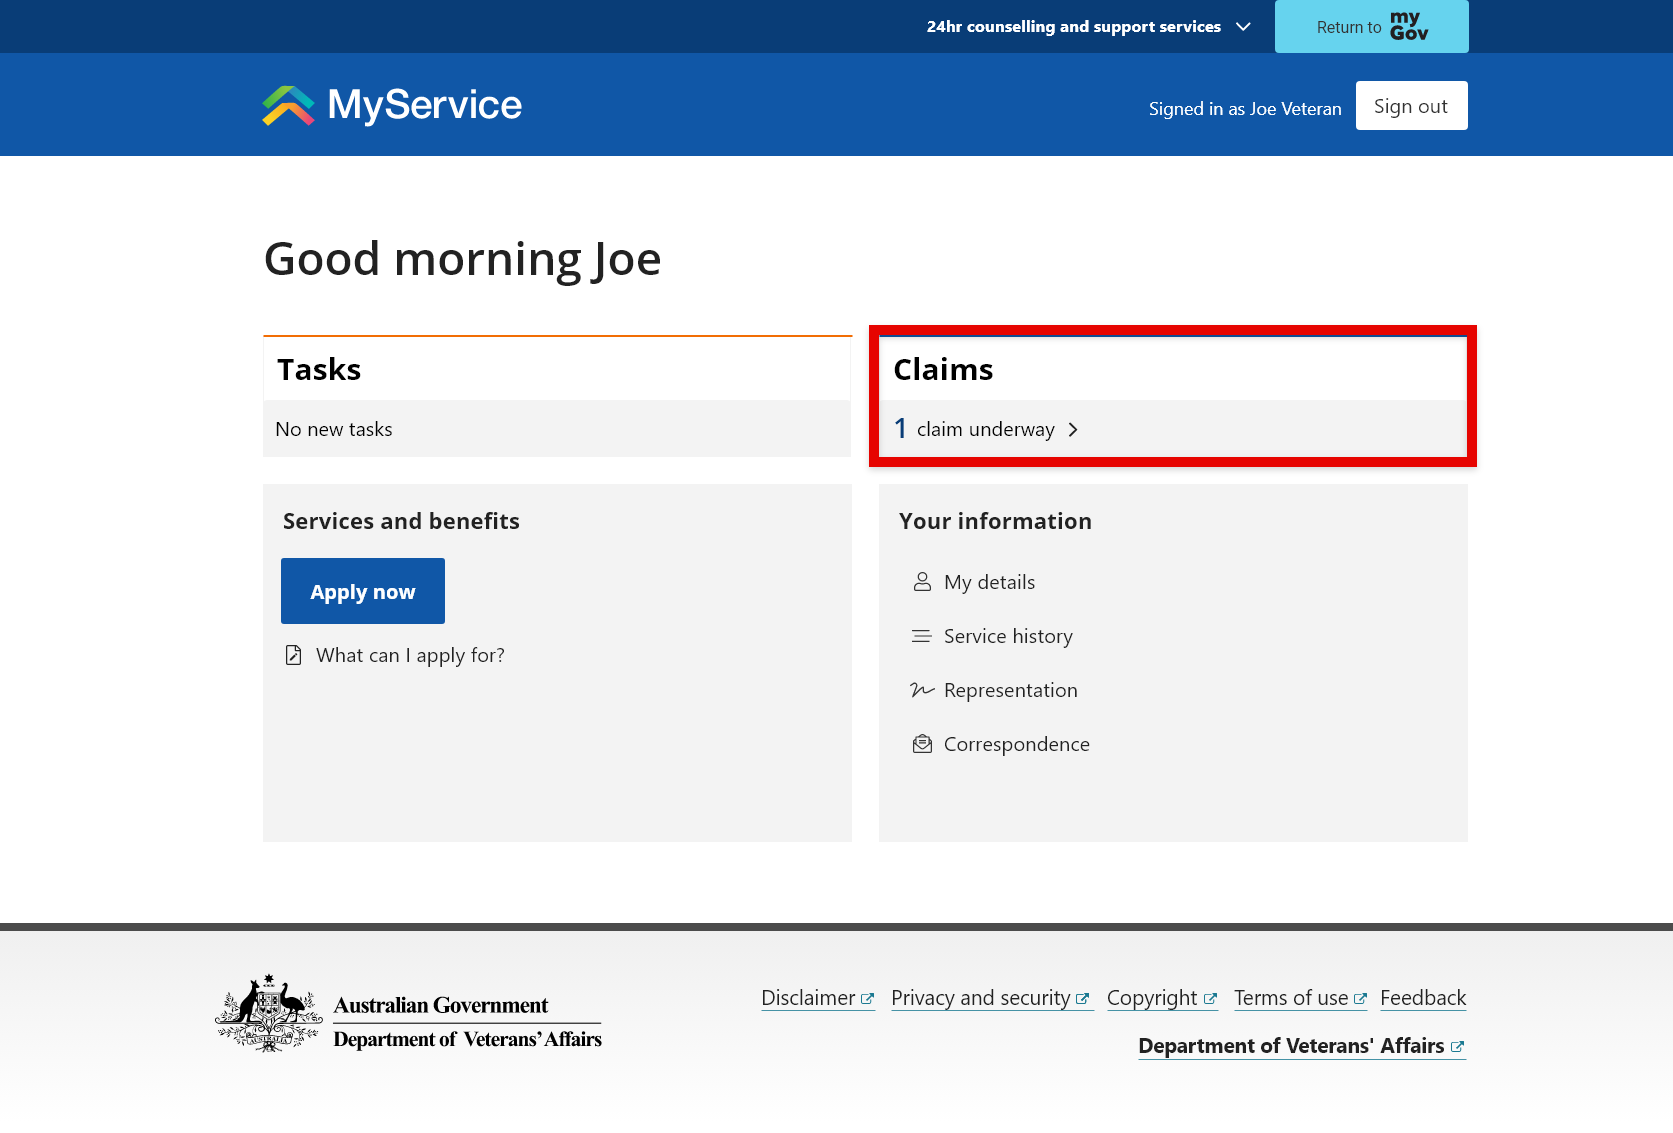
From your MyService home page, select the Claims tile.
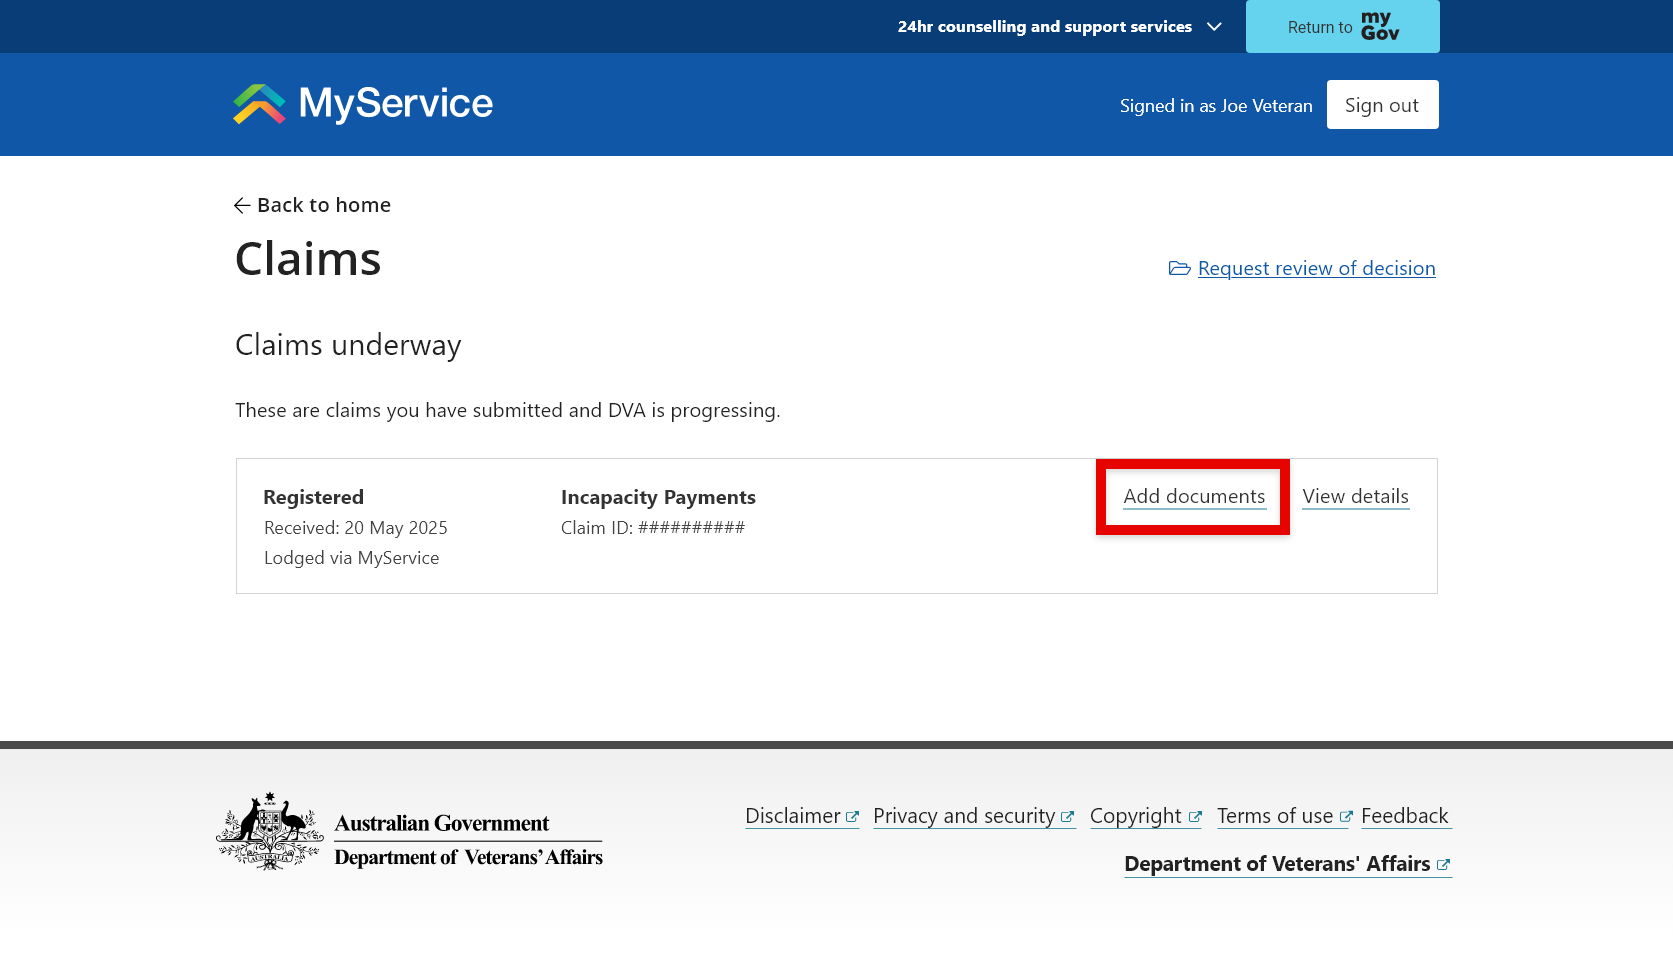
Within the Claims underway list find Incapacity Payments
- If we have identified that there are required documents that need to be added to your claim, it will appear with a status of Awaiting your information and you will receive a Required documents task.
- You can however also add any document at any time to your claims while they are underway, up until the claim is determined.
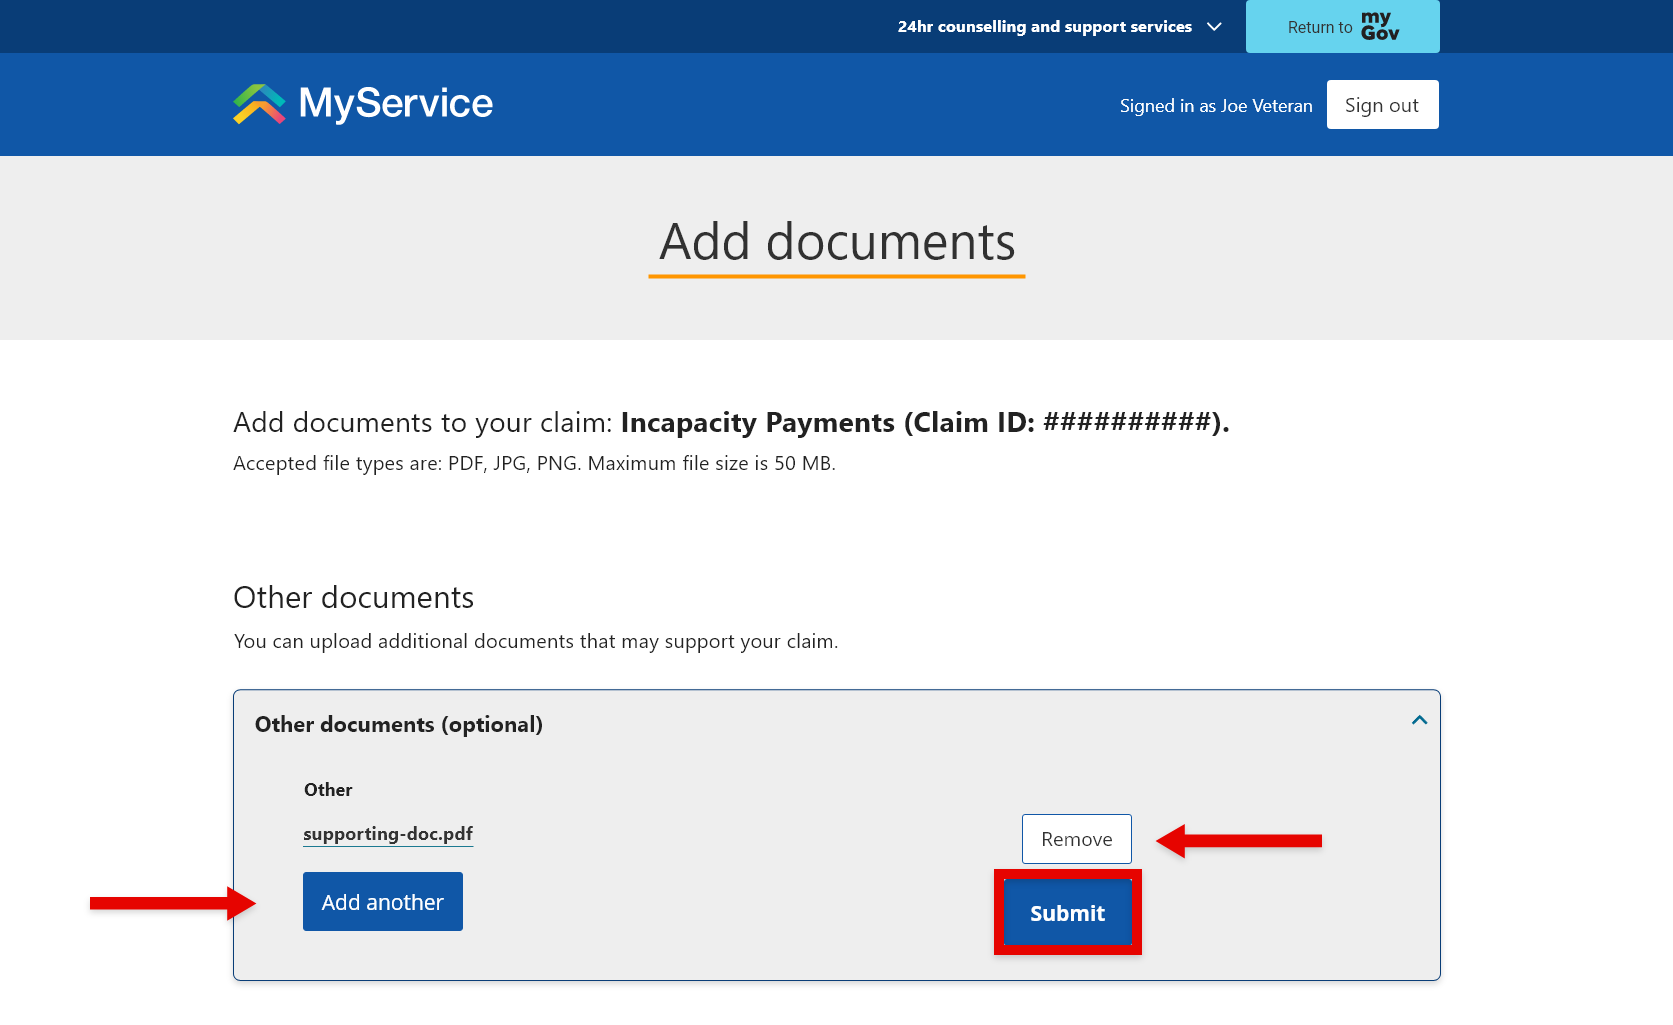
Select Add documents.
To add documents, select Upload.
If you have more than one document, select Add another to upload it.
To delete a document if you need to, select Remove.
When you’re ready, select Submit.